It may seem tricky to install garage door openers, but you need the installation kit and some basic skills to install them.
But before installation, you must at least have basic knowledge about how to do this job. Then, you must follow some basic steps, starting from joining the units and adjusting them. In the end, check it yourself to ensure that the door opener is appropriately fixed.
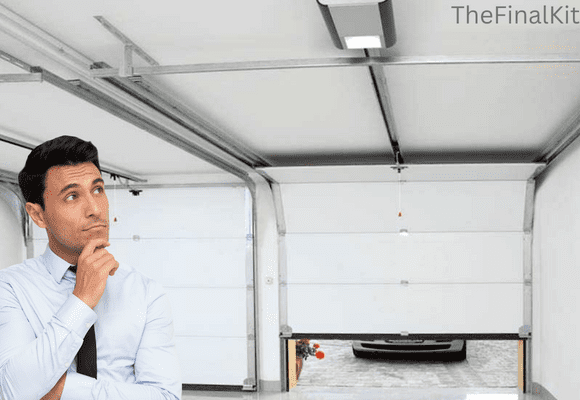
Steps to install a garage door opener
Garage door openers are available in the market in different types. They are differentiated based on their working phenomena and apparatus.
Check all the apparatus required for installation before starting to install. Usually, the opener assembly consists of Rail, Trolley, Pulley, Door & header brackets, Safety sensors, Door wall control, chain spreader, and other essential parts.
Join all these parts together, and after setting up the apparatus, you need to start installing the door opener.
Mark the garage door from the center to find out the better location for the header bracket. Drill some holes and fix the bracket with the wall. In the case of concrete walls, use bolts as well.
Now you need to join the rail and header bracket for that lift rail to the point where it is aligned with header bracket holes; now join them by using clevis pins and fasten them. Now you need to hand the garage door opener with hanging brackets with the help of washers and nuts.
First, ensure that the door opener is at the center of the hole garage door and aligned with the header bracket. Now set the position for the support bracket. Finally, with the help of other structural support, attach the support bracket to the hanging brackets. Attach the handle and emergency release rope to the trolley.
Close the garage door and detach the trolley from the rail. Move the trolley and close the door. Use a clevis pin to attach the straight door arm and curve door arm to the trolly. In the end, you need to install door safety sensors and wall control.

The most tricky part of this last step is to run wires from door sensors and wall controls. For an excellent installation, use a mounting bracket and a blank plate. Now hook up all the wires together. Your garage door opener is installed correctly; before using it, you must perform a few tests to check if it is working correctly.
Which garage door opener is the best?
No products found.
Depending upon the apparatus and design of garage door openers, they are of three different types. The chain-driven garage door is one of the simplest door openers. They are the most affordable door openers; they have a chain similar to the chains of bicycles. It is worked by lifting this chain up and down. They are heavy to deal with.
Belt-driven is the second type of garage door opener. Their work is a bit similar to chain-driven door openers. The only difference is that they use belts instead of chains for lifting garage door openers. Belt-driven garage door openers are more expensive. They are not loud.
Screw-Driven is another garage door opener. They are fitted on the wall above the garage using spinning rods. The door opens when the rod spins. They are quiet and more expensive than the others. In addition, they could be louder and easier to maintain.
Conclusion
Setting up a garage door opener is a relatively easy task to do. It would be best if you had a proper installation kit, some basic skills, and the stamina to deal with apparatus because door opener assembly is essential.
Suppose you are good at it. You can save $500 and can install it on your own. Now, if someone asks you how difficult is it to install a garage door opener, tell them the steps we have explained.